Hi Zooliners,
At Zoo we are often fortunate enough to film all over the world. But before Basti packs his travel pillow or Kat prepares herself for the terror of turbulence, there’s one thing the production team has to do: choose the right equipment.
With our latest blog post, we shall guide you through our pre-production planning process and give you an insight into why we use what we use in two specific areas: camera and sound. To make things simple, we’ve narrowed it down to one of our passion projects, Nobel Perspectives. This project sees our office move to the global stage in a variety of countries, but how we shoot it never changes.
At Zoo there is one Japanese tech giant that rules supreme: Sony. Therefore the decision of picking a camera is made rather easy. We opt for the Sony PXW-FX9, a remarkable digital film camera capable of lending our projects a true cinematic feel, while also not breaking the bank (very important). To be slightly more technical, the main reasons why we choose the FX9 are as follows. The camera boasts 15+ stops of dynamic range, has a remarkable full-frame 6K CMOS sensor and is capable of 10 bit 4:2:2 internal recording. Basically its images look SICK. All of this ensures that we’re getting the most out of what we’re recording, granting us a huge range of artistic potential in the editing room
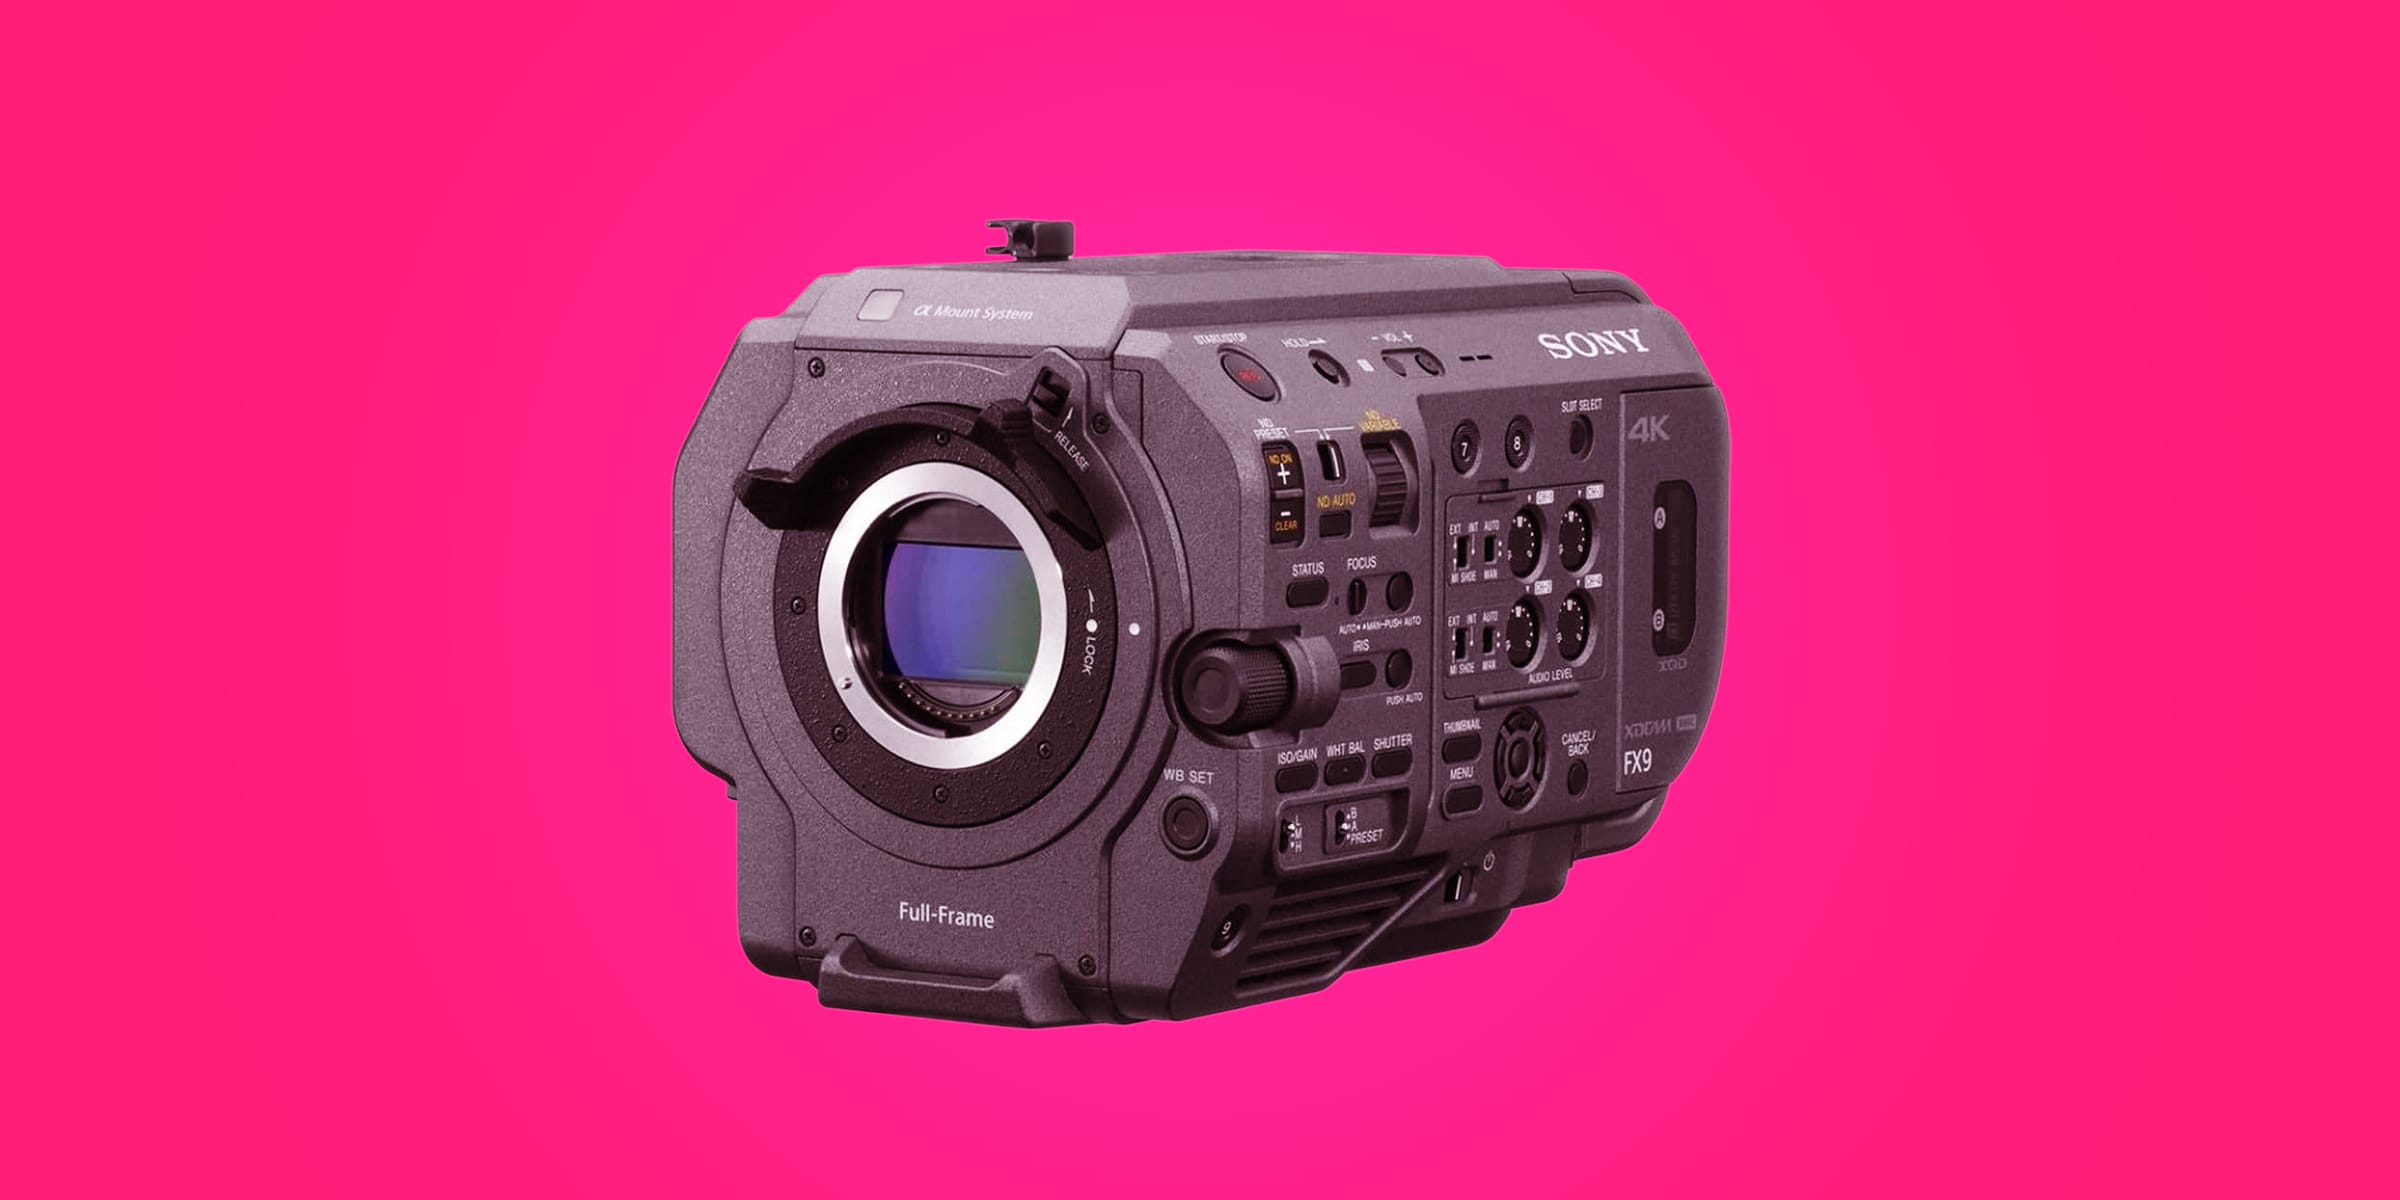
Now, there are a variety of different ways that we could use this camera to capture our content. A camera operator has to be mindful of all of these options and pick those that best suit the material (and ensure that they don’t get them wrong). Here’s a basic look at how we typically shoot and all the settings that we make sure are right before we hit record:
4K XAVC-I Codec - enables you to record 4K without spending quite so much money on storage.
25 frames per second (European standard) - 50 fps if we’re looking for some tasty slow motion.
180-degrees-Shutter - to give our images the typical cinematic motion blur (is sometimes adjusted for flickering lights).
800 ISO - the base ISO setting for the FX9, meaning we get almost no digital noise.
Sony S-Log3/S-Gamut3.Cine - the colour space for Sony film cameras.
Now, just a quick note on that last one.
So, S-Log is a gamma curve with a wide dynamic range. If you were to look at what we are actually shooting, the footage would appear completely flat, like so:
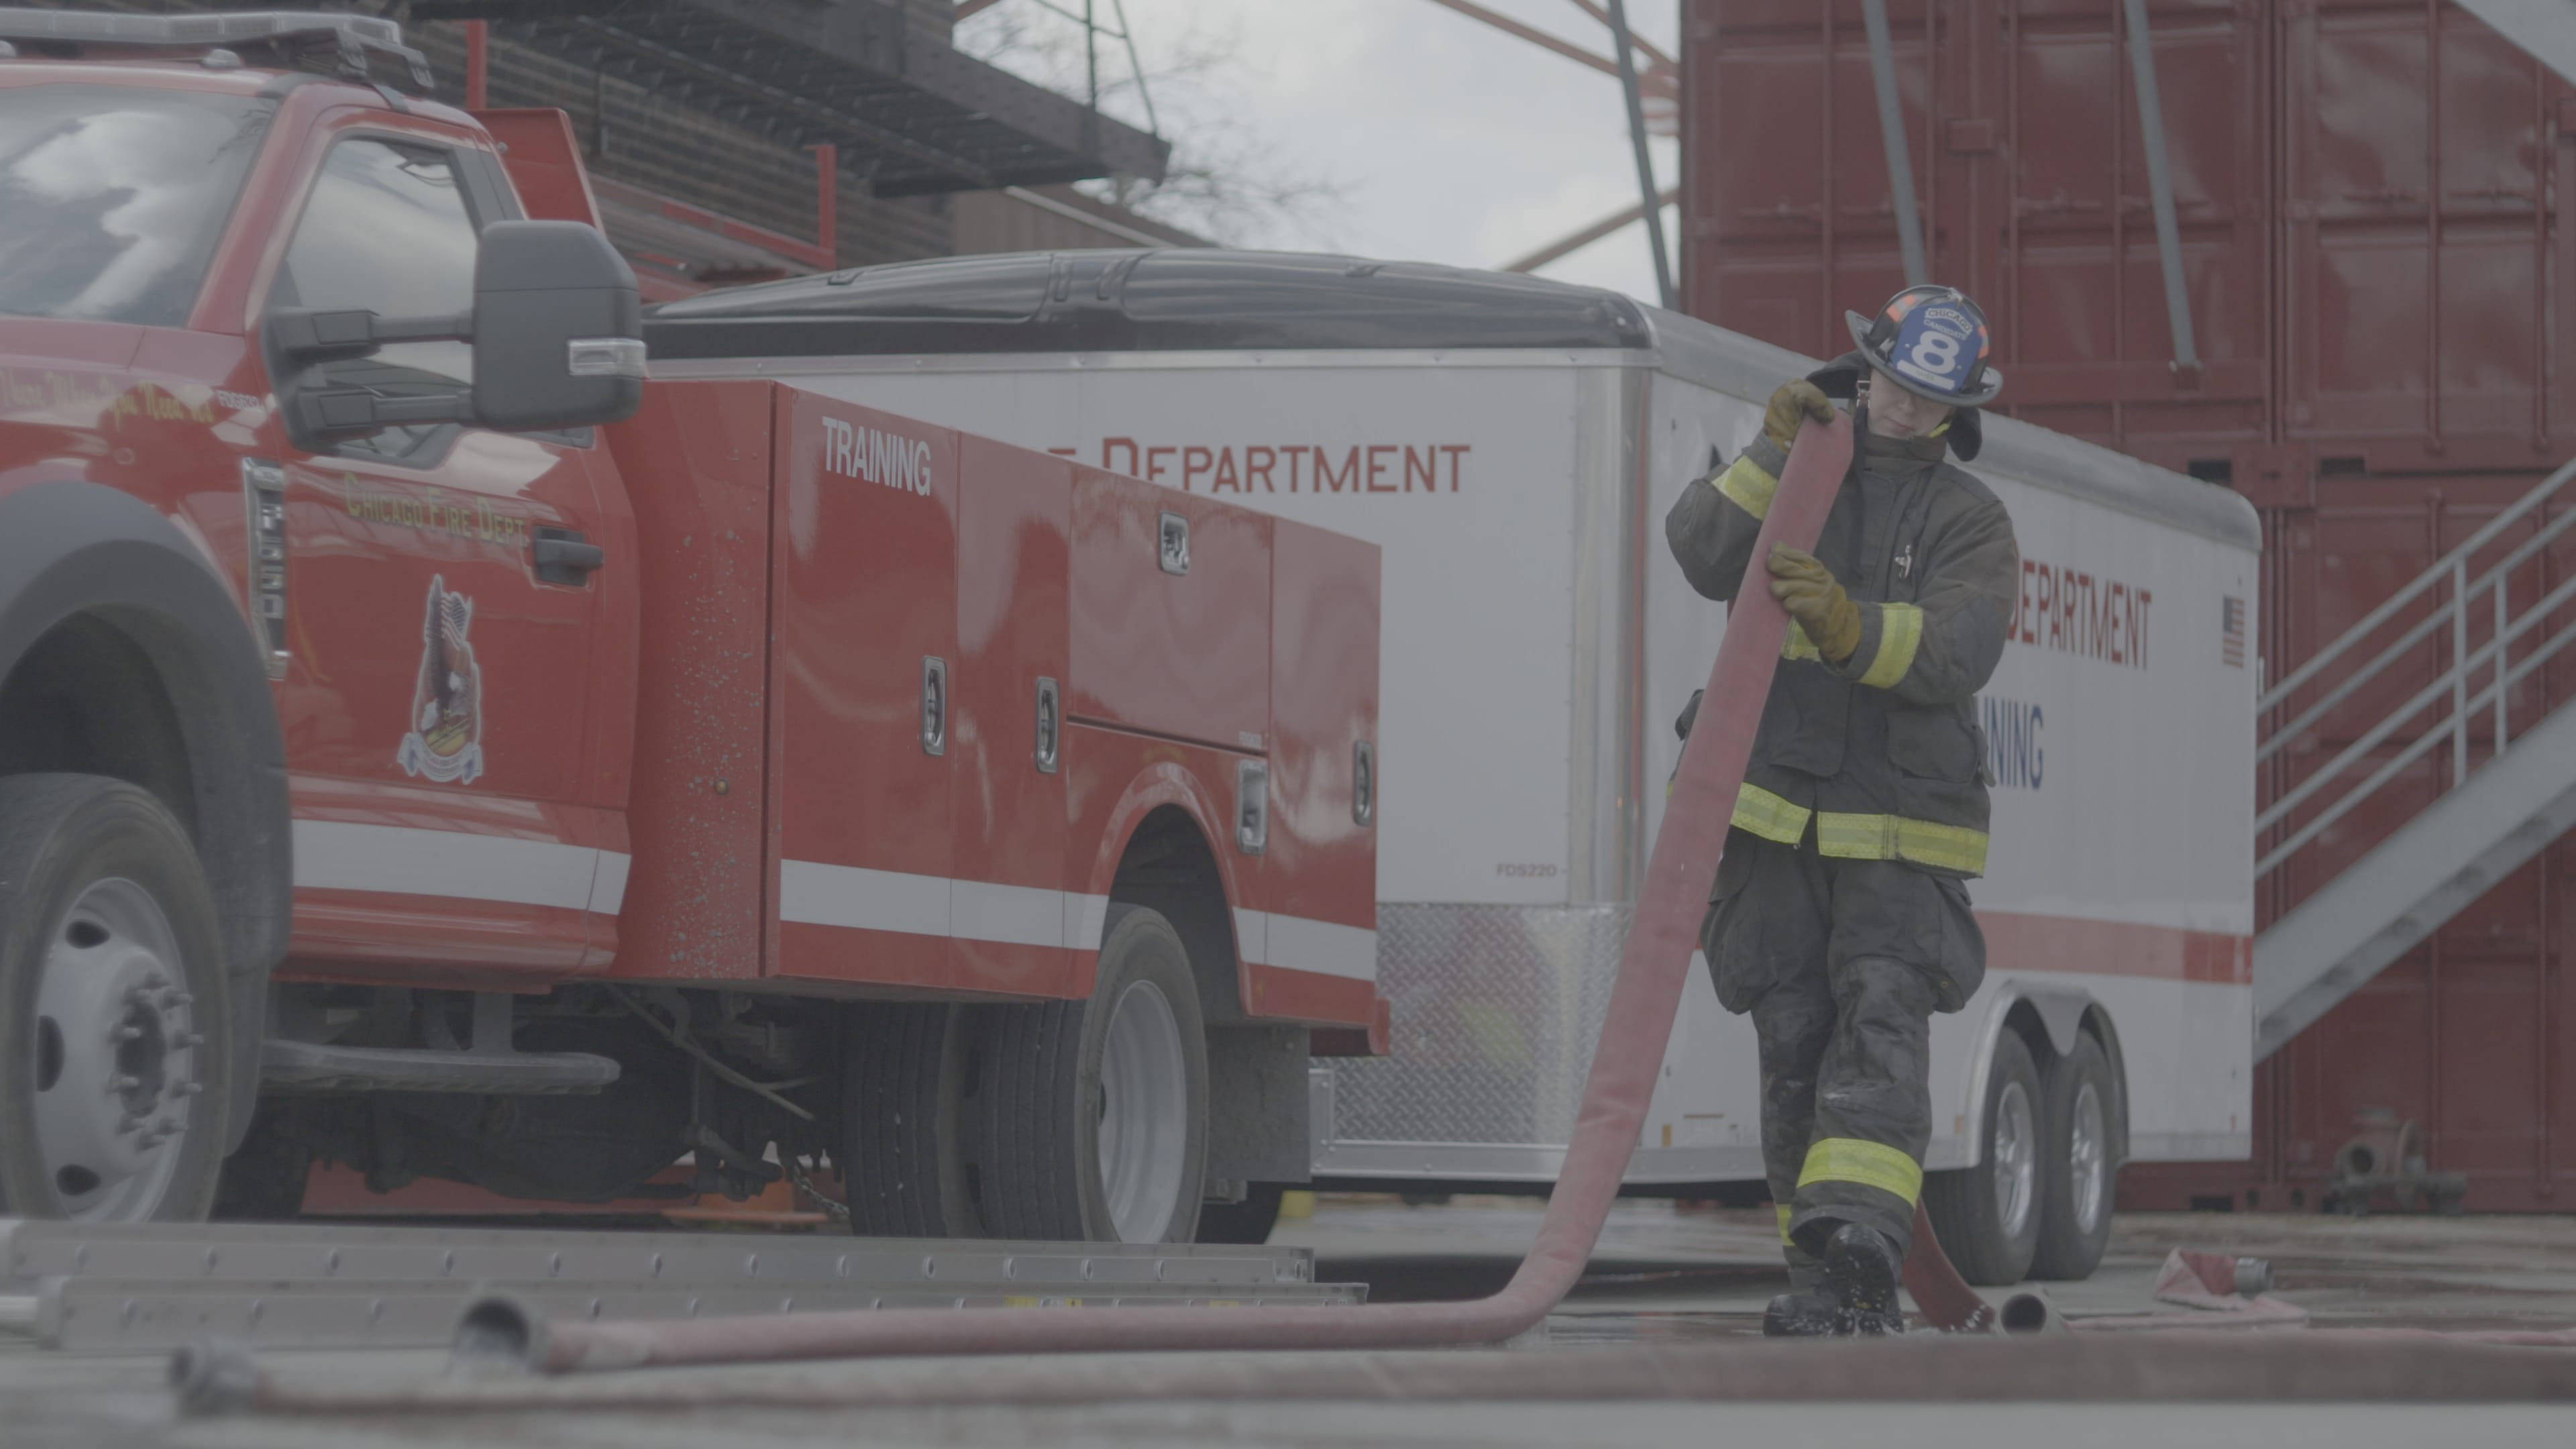
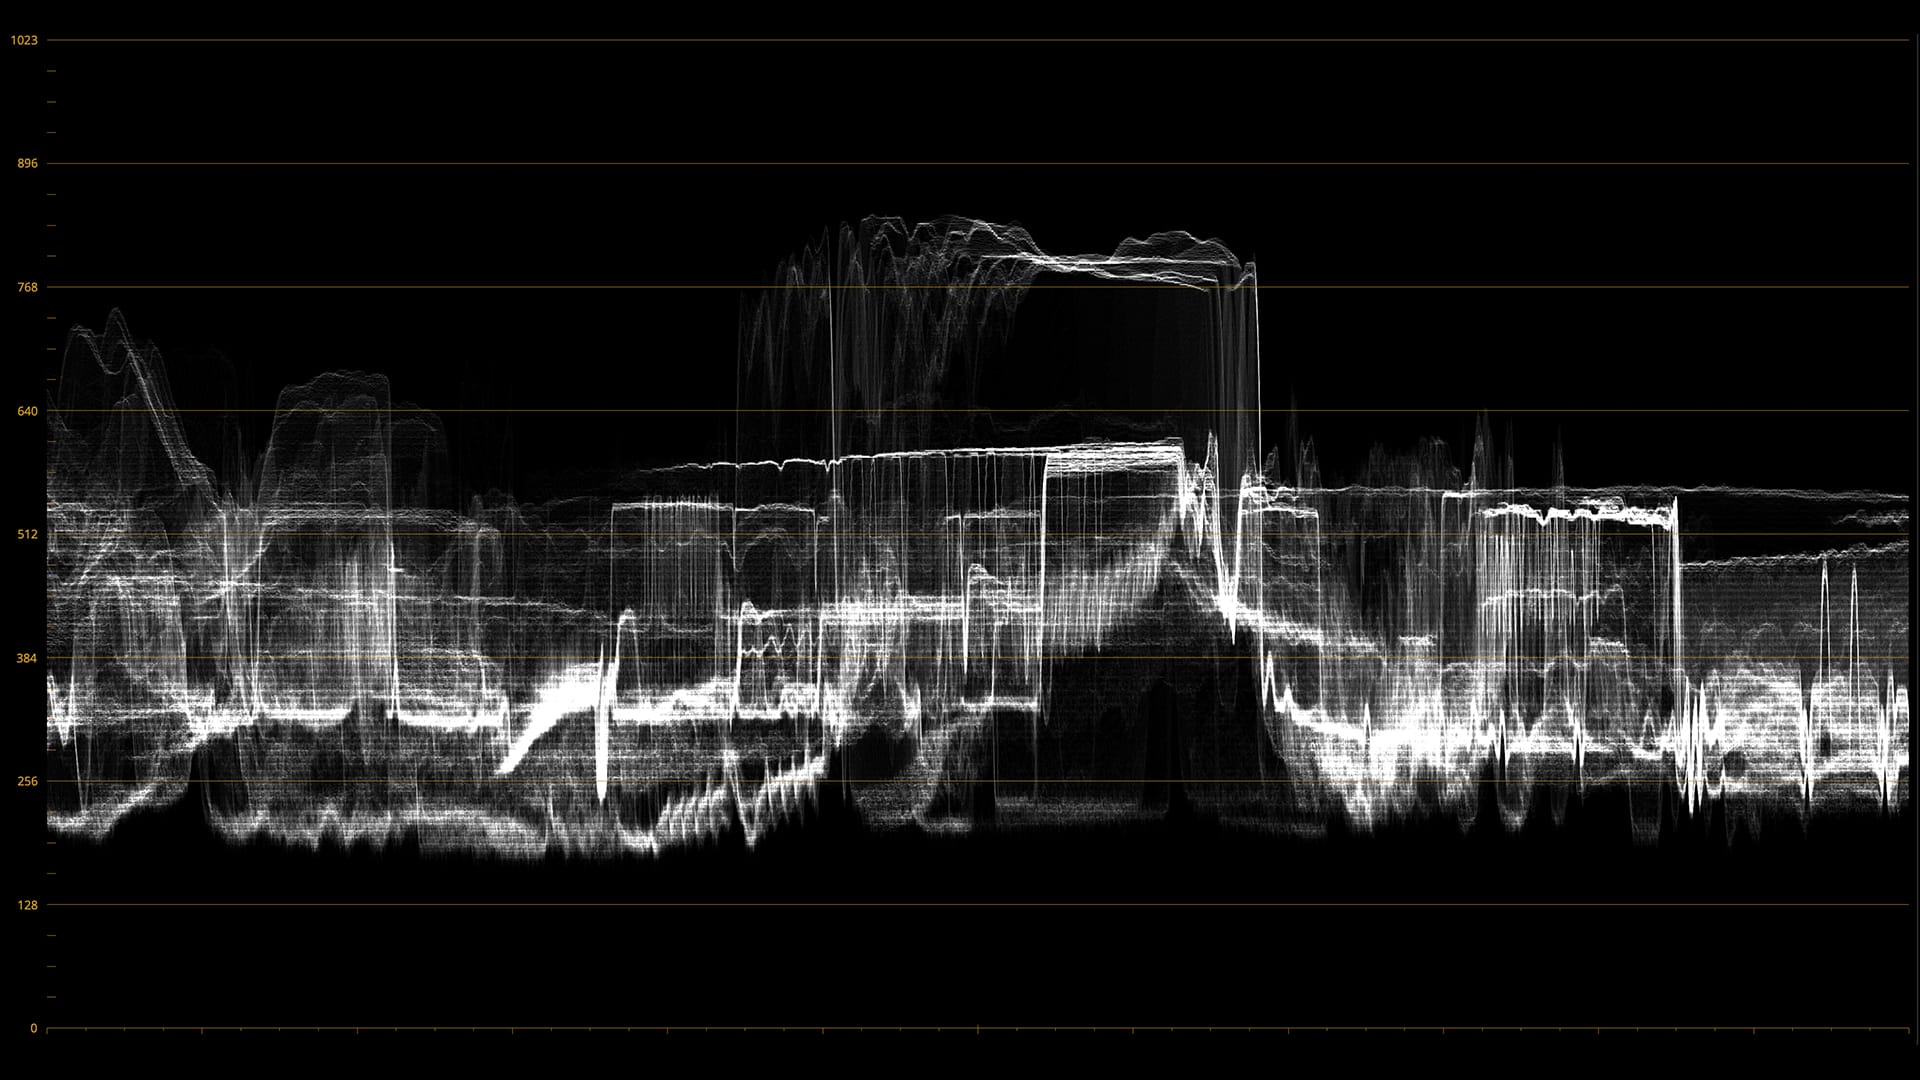
No colours, no contrast, nothing. Why do we film this way? Well, it basically grants us total control over the image during the grading process. (It also means a lot more work, but hey, we love it.)
S-Log3 allows for better gradation characteristics in shadows and the mid-tone range. By shooting this way, we are retaining the most amount of information possible when we hit record. So, once we convert this S-Log image into what is Rec.709 - Rec.709 is a colour gamut that acts as a standard across displays and ensures that we’re all on the same page when it comes to colour - we get something like this:
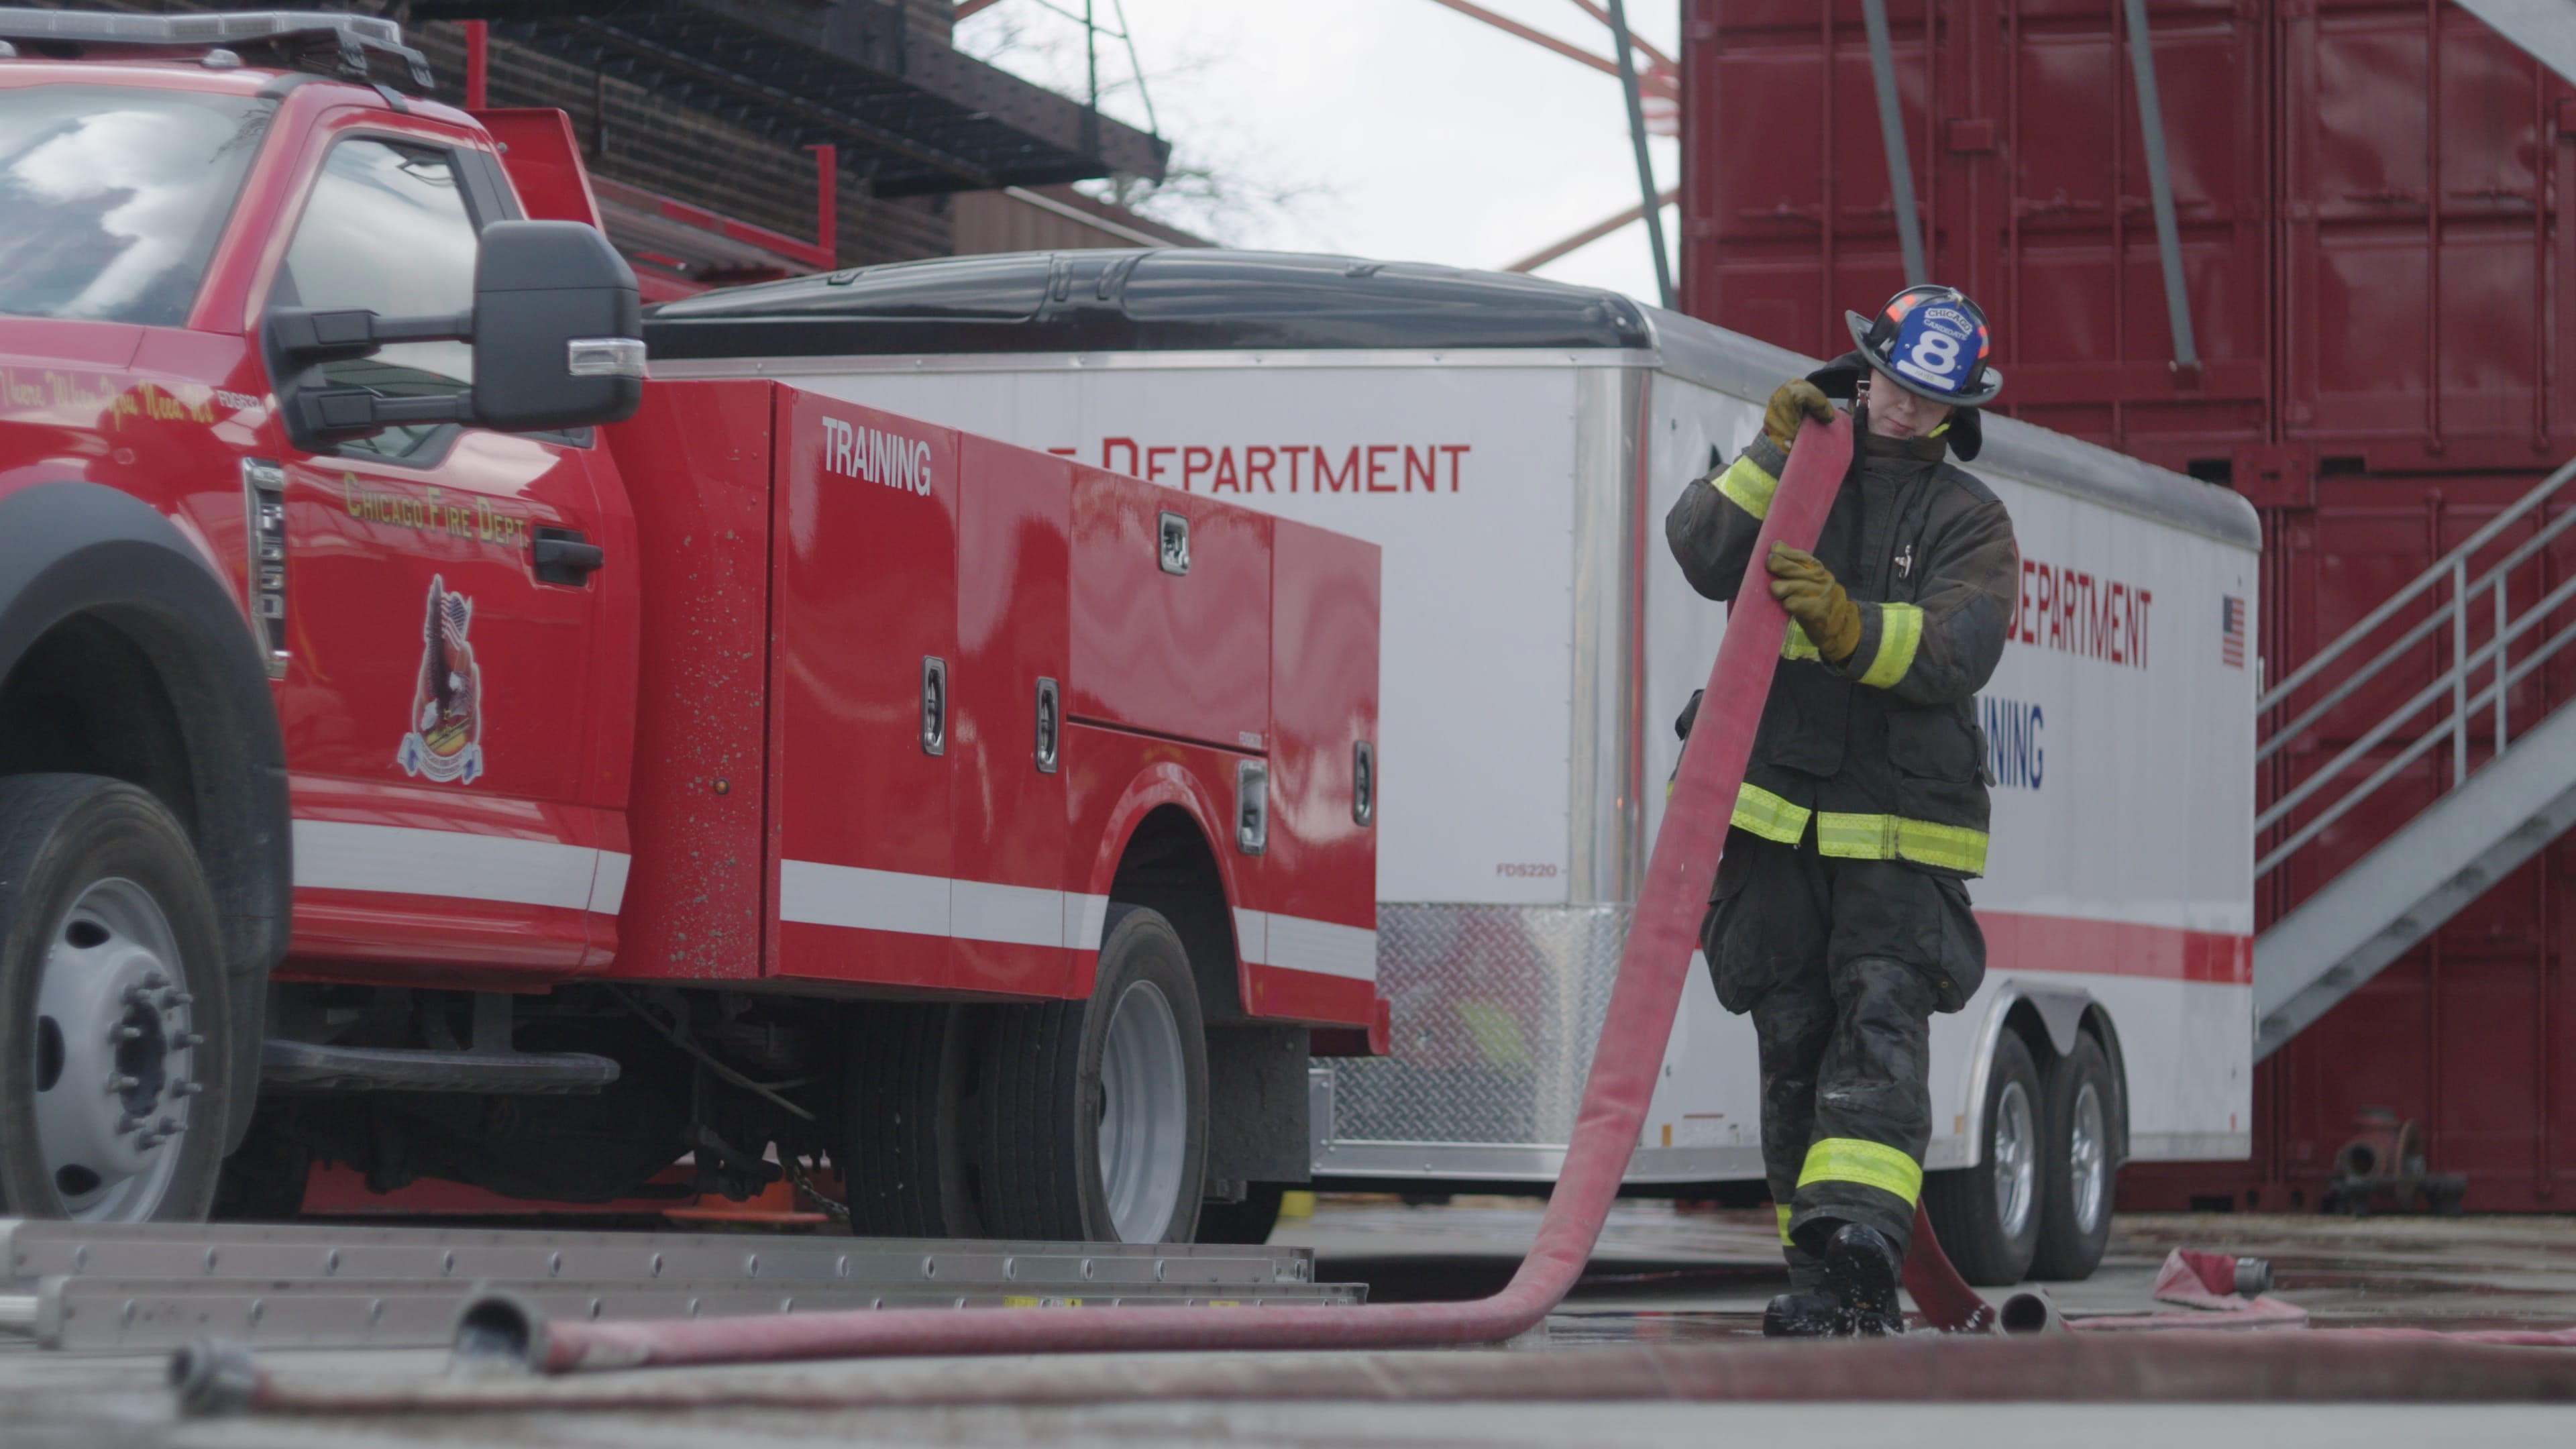
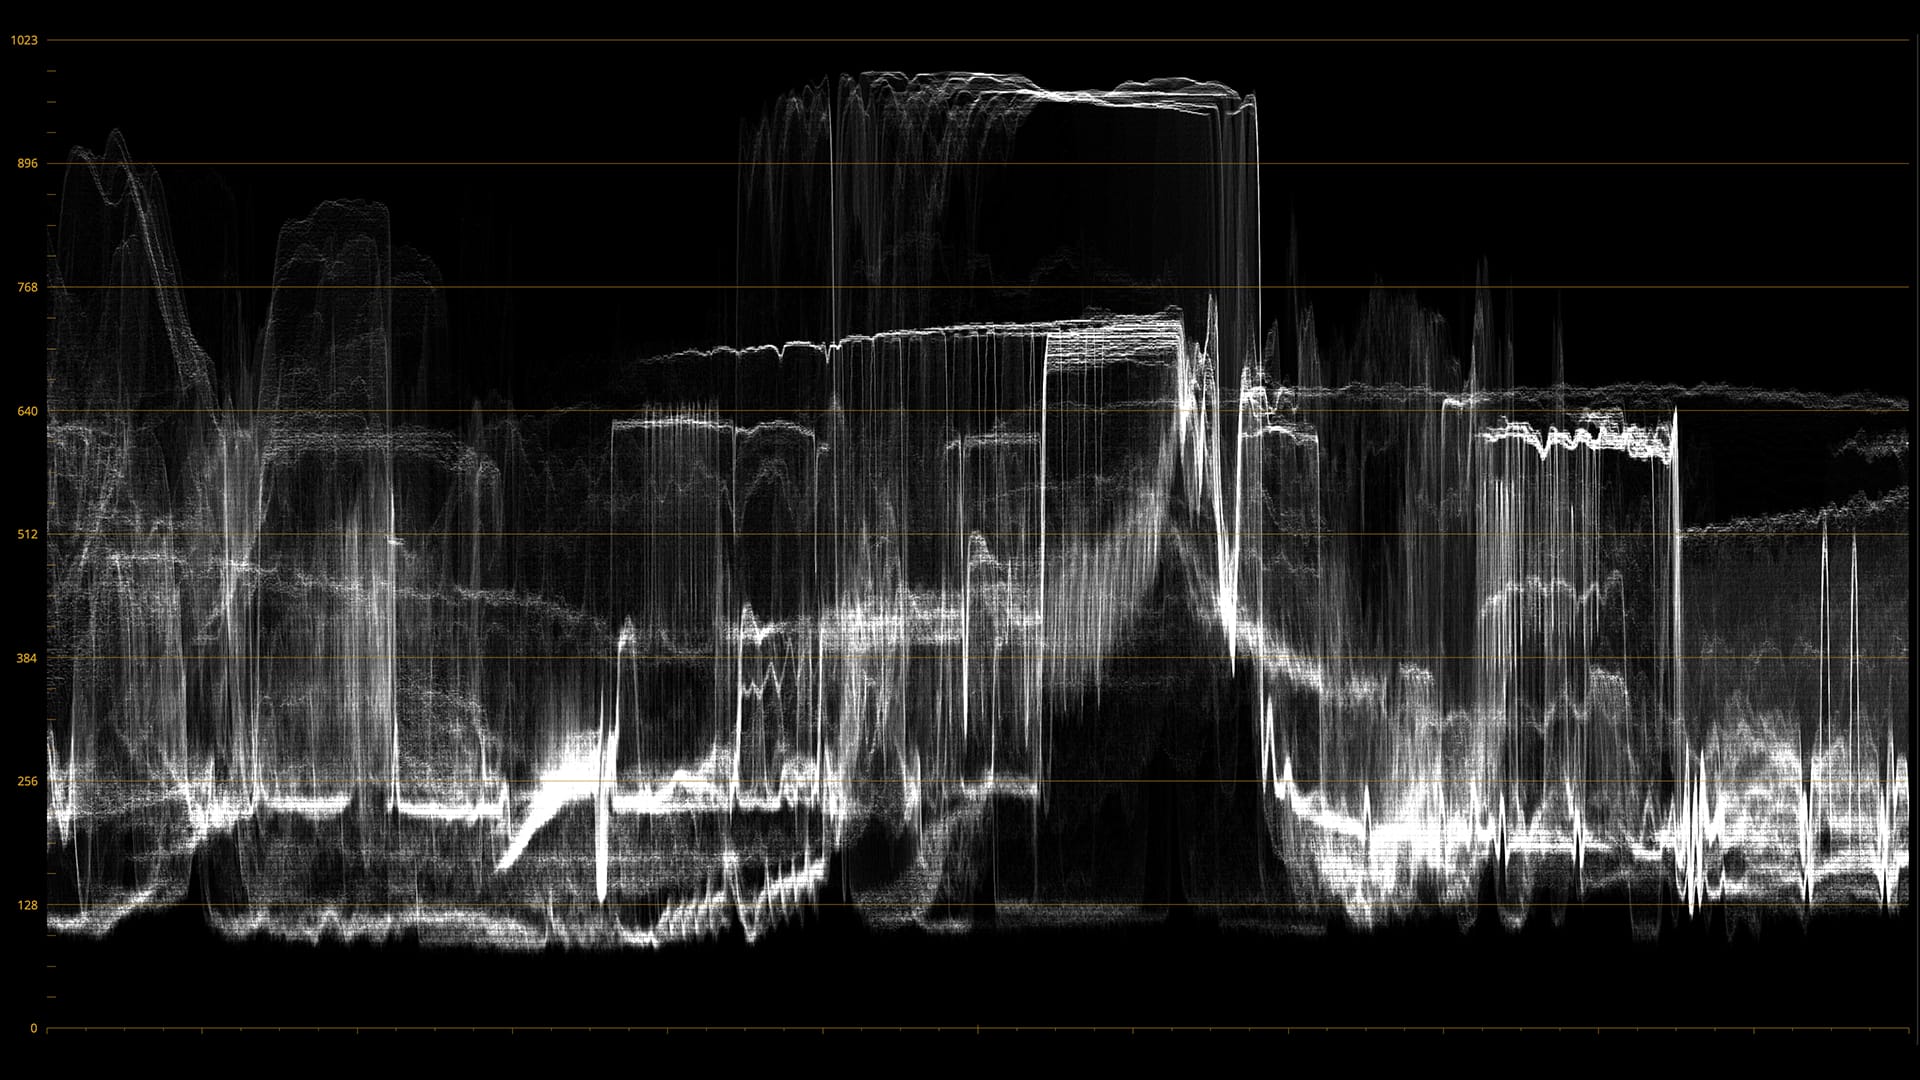
Pretty cool. And technical. But still cool. So how do we know what we’re filming when the image is so flat? Well, we actually film with what is called a LUT (Lookup table) while we’re out in the world, which changes how the image looks on our monitors. This is basically a way for the camera to interpret the colours and contrast of an image in a specific way - a kind of live conversion of the Log image. This also allows us to see our exposure more accurately and gives us a sense of what we could do with the image in post. Actually technical is exactly the right word here. Well, it’s one of them.
There are two kinds of LUTs that most cinematographers use on set. Technical LUTs (provided by camera manufacturers to convert Log Footage to Rec.709) and creative LUTs. These are LUTs that manipulate the colours and contrast of images in a pre-determined way. In our case, we actually crafted our own show LUT for Nobel Perspectives. This LUT aligns with the look we are usually aiming for in the final product. We think it’s really special. In fact, you can see below what happens to the images once we apply the LUT to the Log footage:
Notice the difference with the basic Rec.709 conversion? Our LUT characteristically adds a bit more contrast, saturation and highlight manipulation than the standard conversion. We're big fans. SO! That was a lot of technical stuff, but without all this we wouldn’t have footage to take back from our adventures. But all of this means nothing if you don’t have a lens to shoot it with. Drumroll…
In the course of deciding which cine lenses to shoot with, we tried out a lot of professional glass. We have our good friends at Camelot Rental in Berlin to thank for that. But after all of the tests we made, we fell in love with the look of one particular line of lenses: The Cooke Panchro/i Classic FF Serie.
These lenses are a modern iteration of a series that has been around since the dawn of cinema. In 1935, the Director of Photography of Metro-Goldwyn Mayer studios said, “… at least 50% of our productions are made with Speed Panchros.” These lenses led to what is now colloquially referred to as the Cooke Look. Take a look at an example of what they can do:
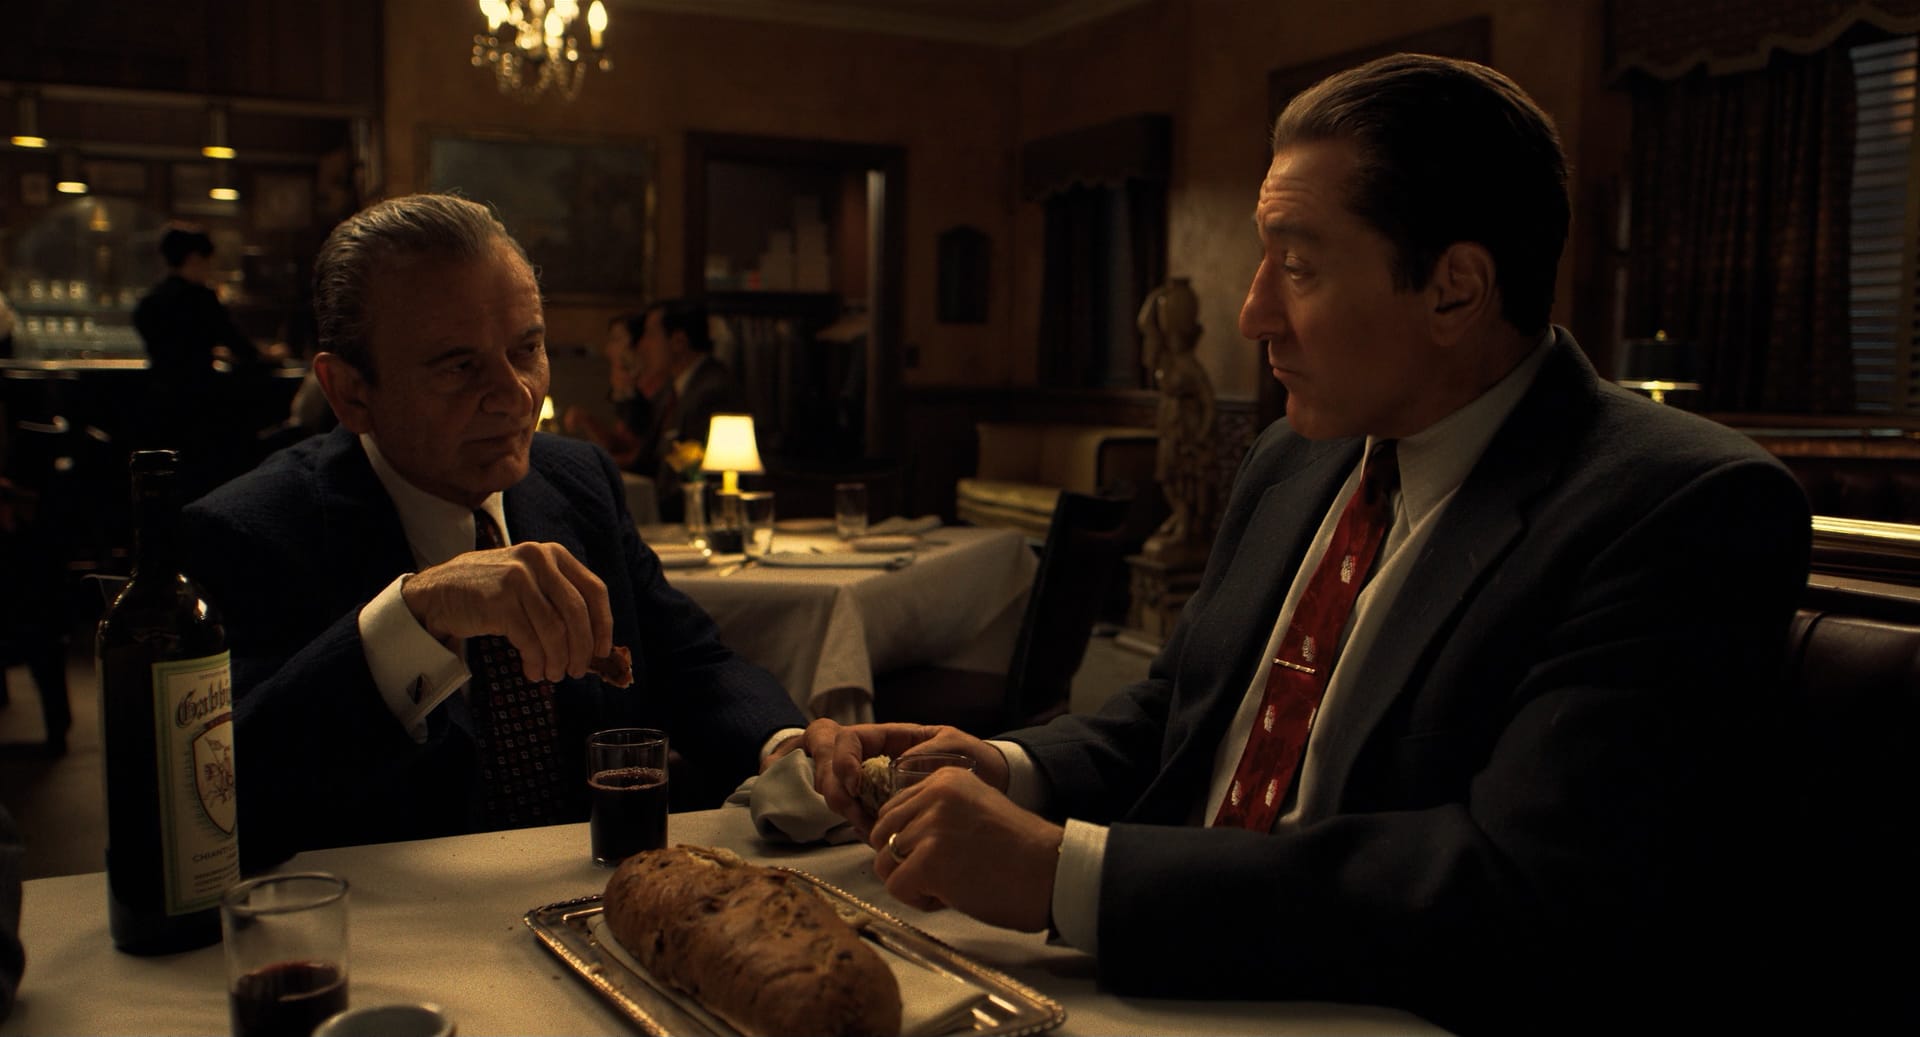
Here they are in use on Martin Scorsese’s ‘The Irishman’. The film’s cinematographer, Rodrigo Prieto, chose these lenses in particular for their vintage appearance, beautiful representation of colours, outstanding bokeh and timeless reliability. And it’d be hard to disagree with him. They are also beautiful to look at:
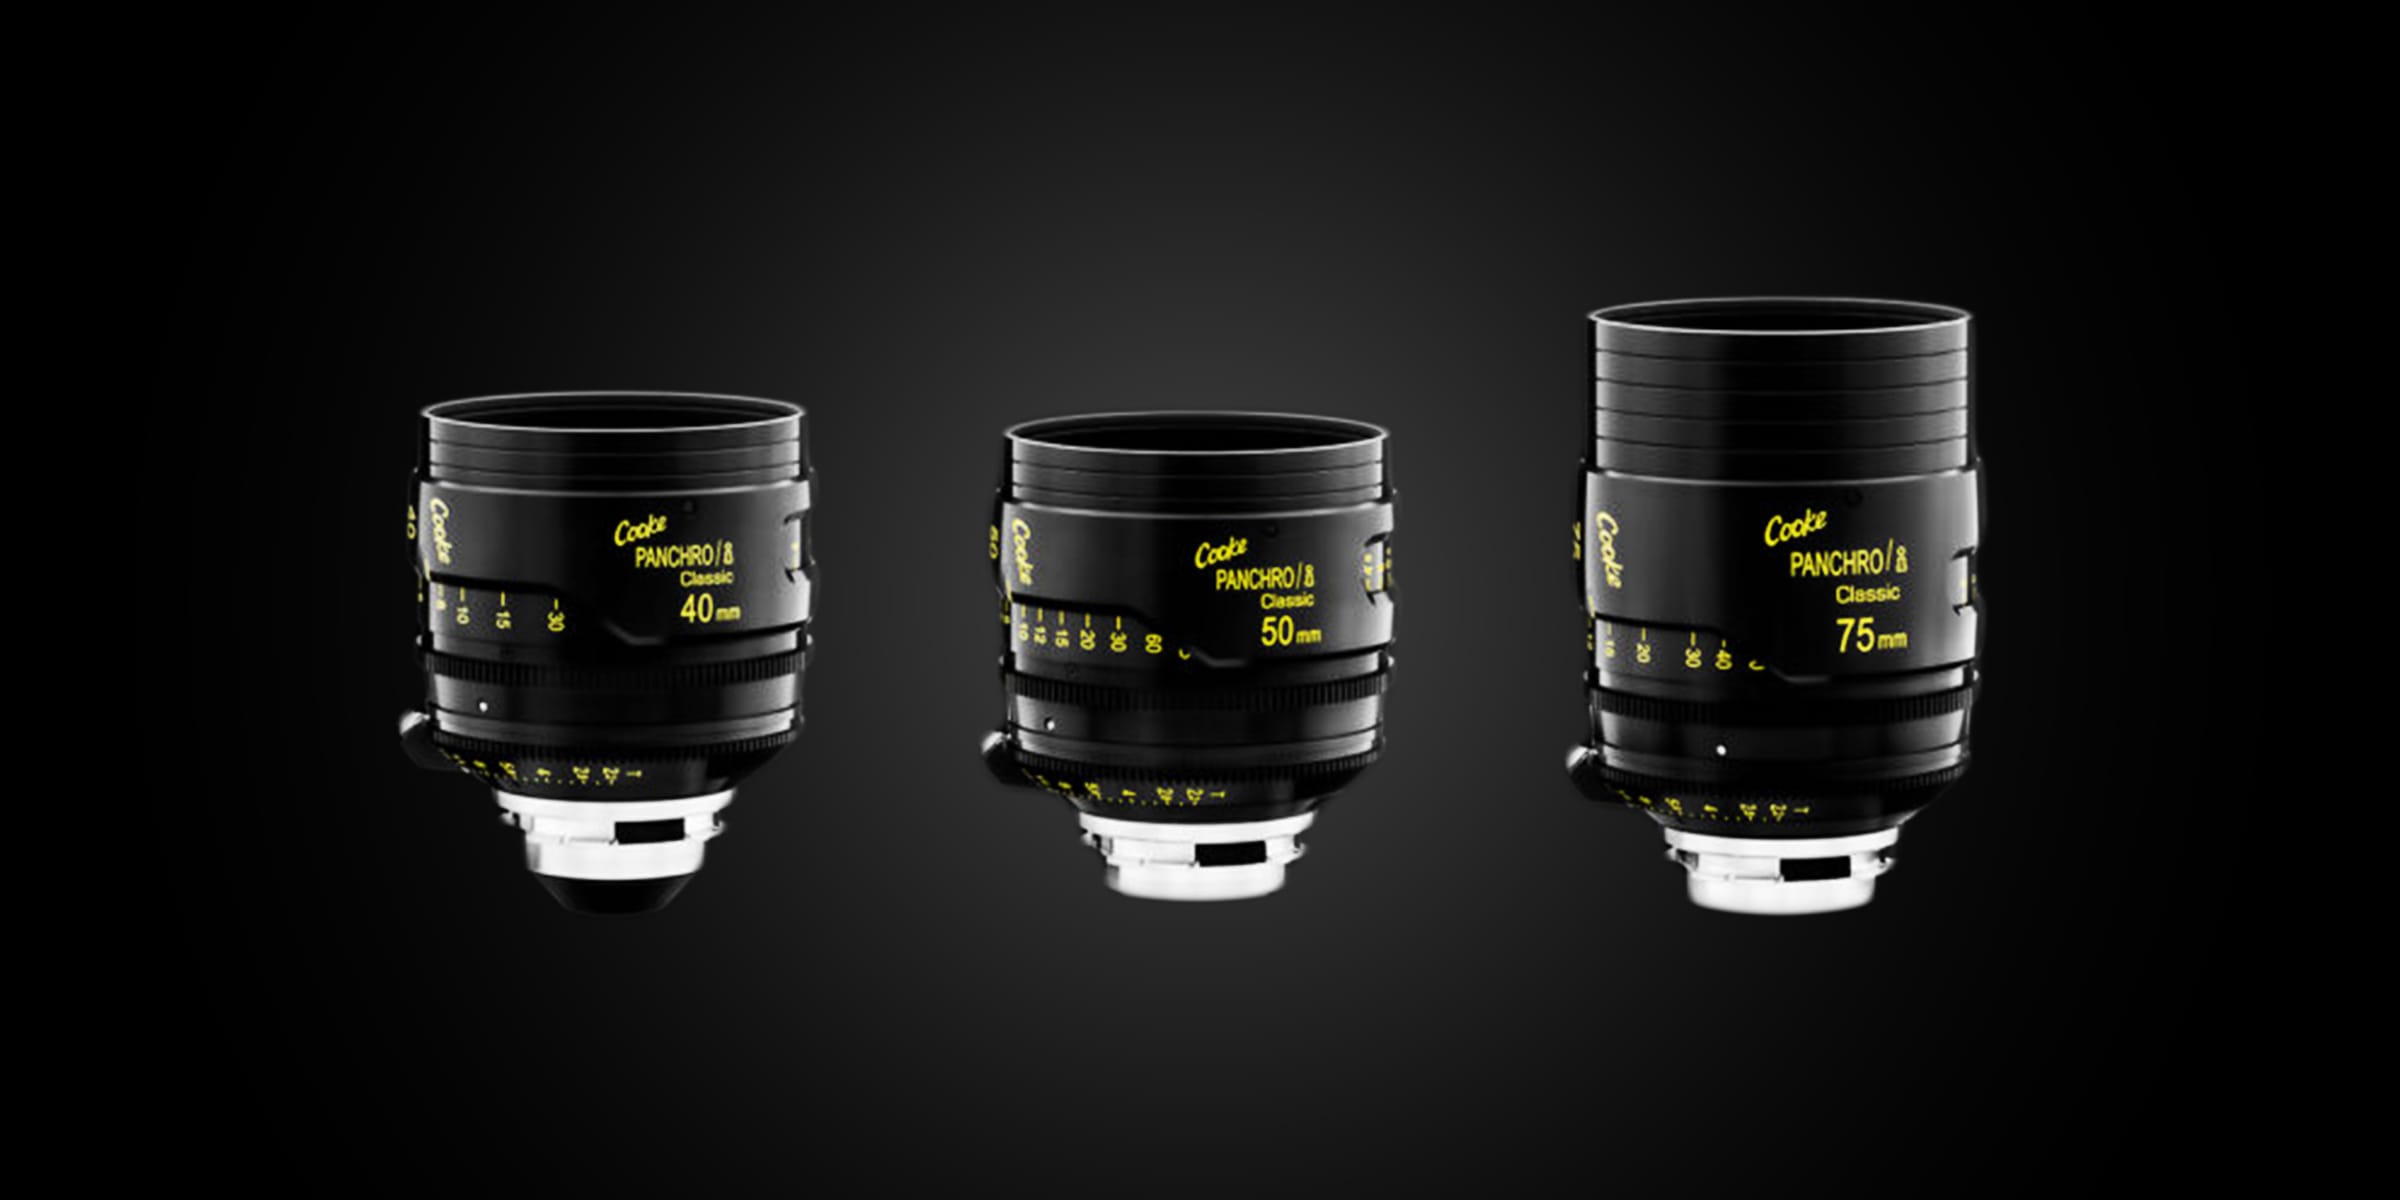
We typically take 3 to 4 of these beauties with us on shoots, to ensure that all of our potential options are covered. Our favourites being the 18mm T2.2, 25mm T2.2, 50mm T2.2 and 75mm T2.2. They are fast, lightweight and honestly the yellow on black just speaks to us as a company. I wonder why…
If you know how to manipulate them, these lenses have the potential to create some truly extraordinary images, capturing a cinematic look that is sought by some of the industry’s leading cinematographers. And we here at Zoo like to top it off with a little something special that we mount to the front of the lens: Tiffen Glimmerglass ¼. Here’s a look at what they lend our footage.
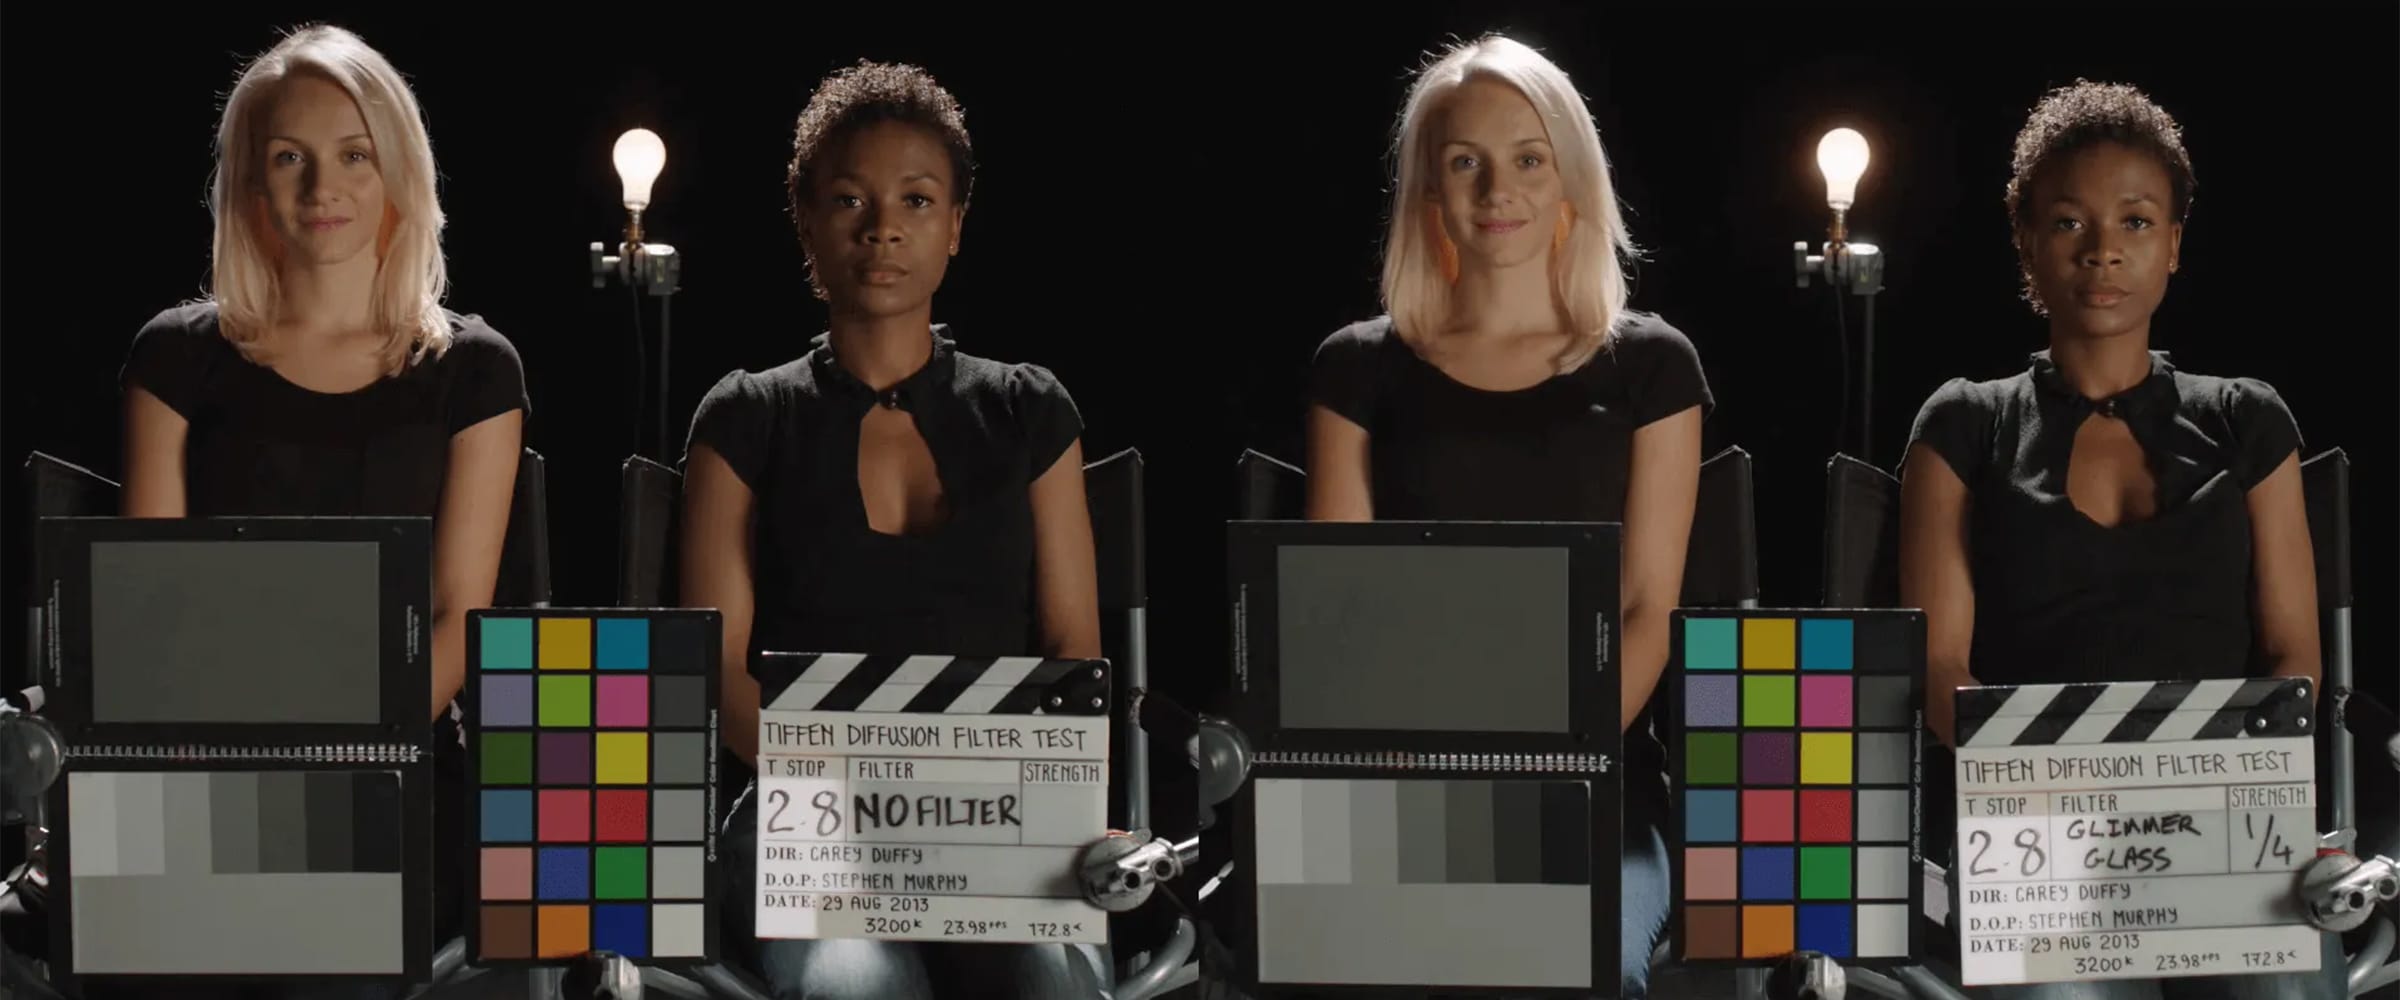
Glimmerglass is a line of diffusion filters that produce a soft clean halation around light sources, without compromising image sharpness. You can see this in the image above, how highlights produce a more unique glow around the subjects. They are truly special. And we love them.
In the end, the combination of all of these elements ensures that we arrive at an image that we can be proud of - one that is cinematic from the ground up. But Nobel Perspectives is nothing if we can’t hear what our interviewees are saying. What a segue…
At Zoo we like to talk just as much as we like to watch, so we wanna make sure that our sound is of the highest quality. This leads to a lot of technical preparation to ensure that the various recording devices and mics are all synced with our cameras to make life easier once we sit down to edit. Here’s a brief rundown of the equipment we take with us.
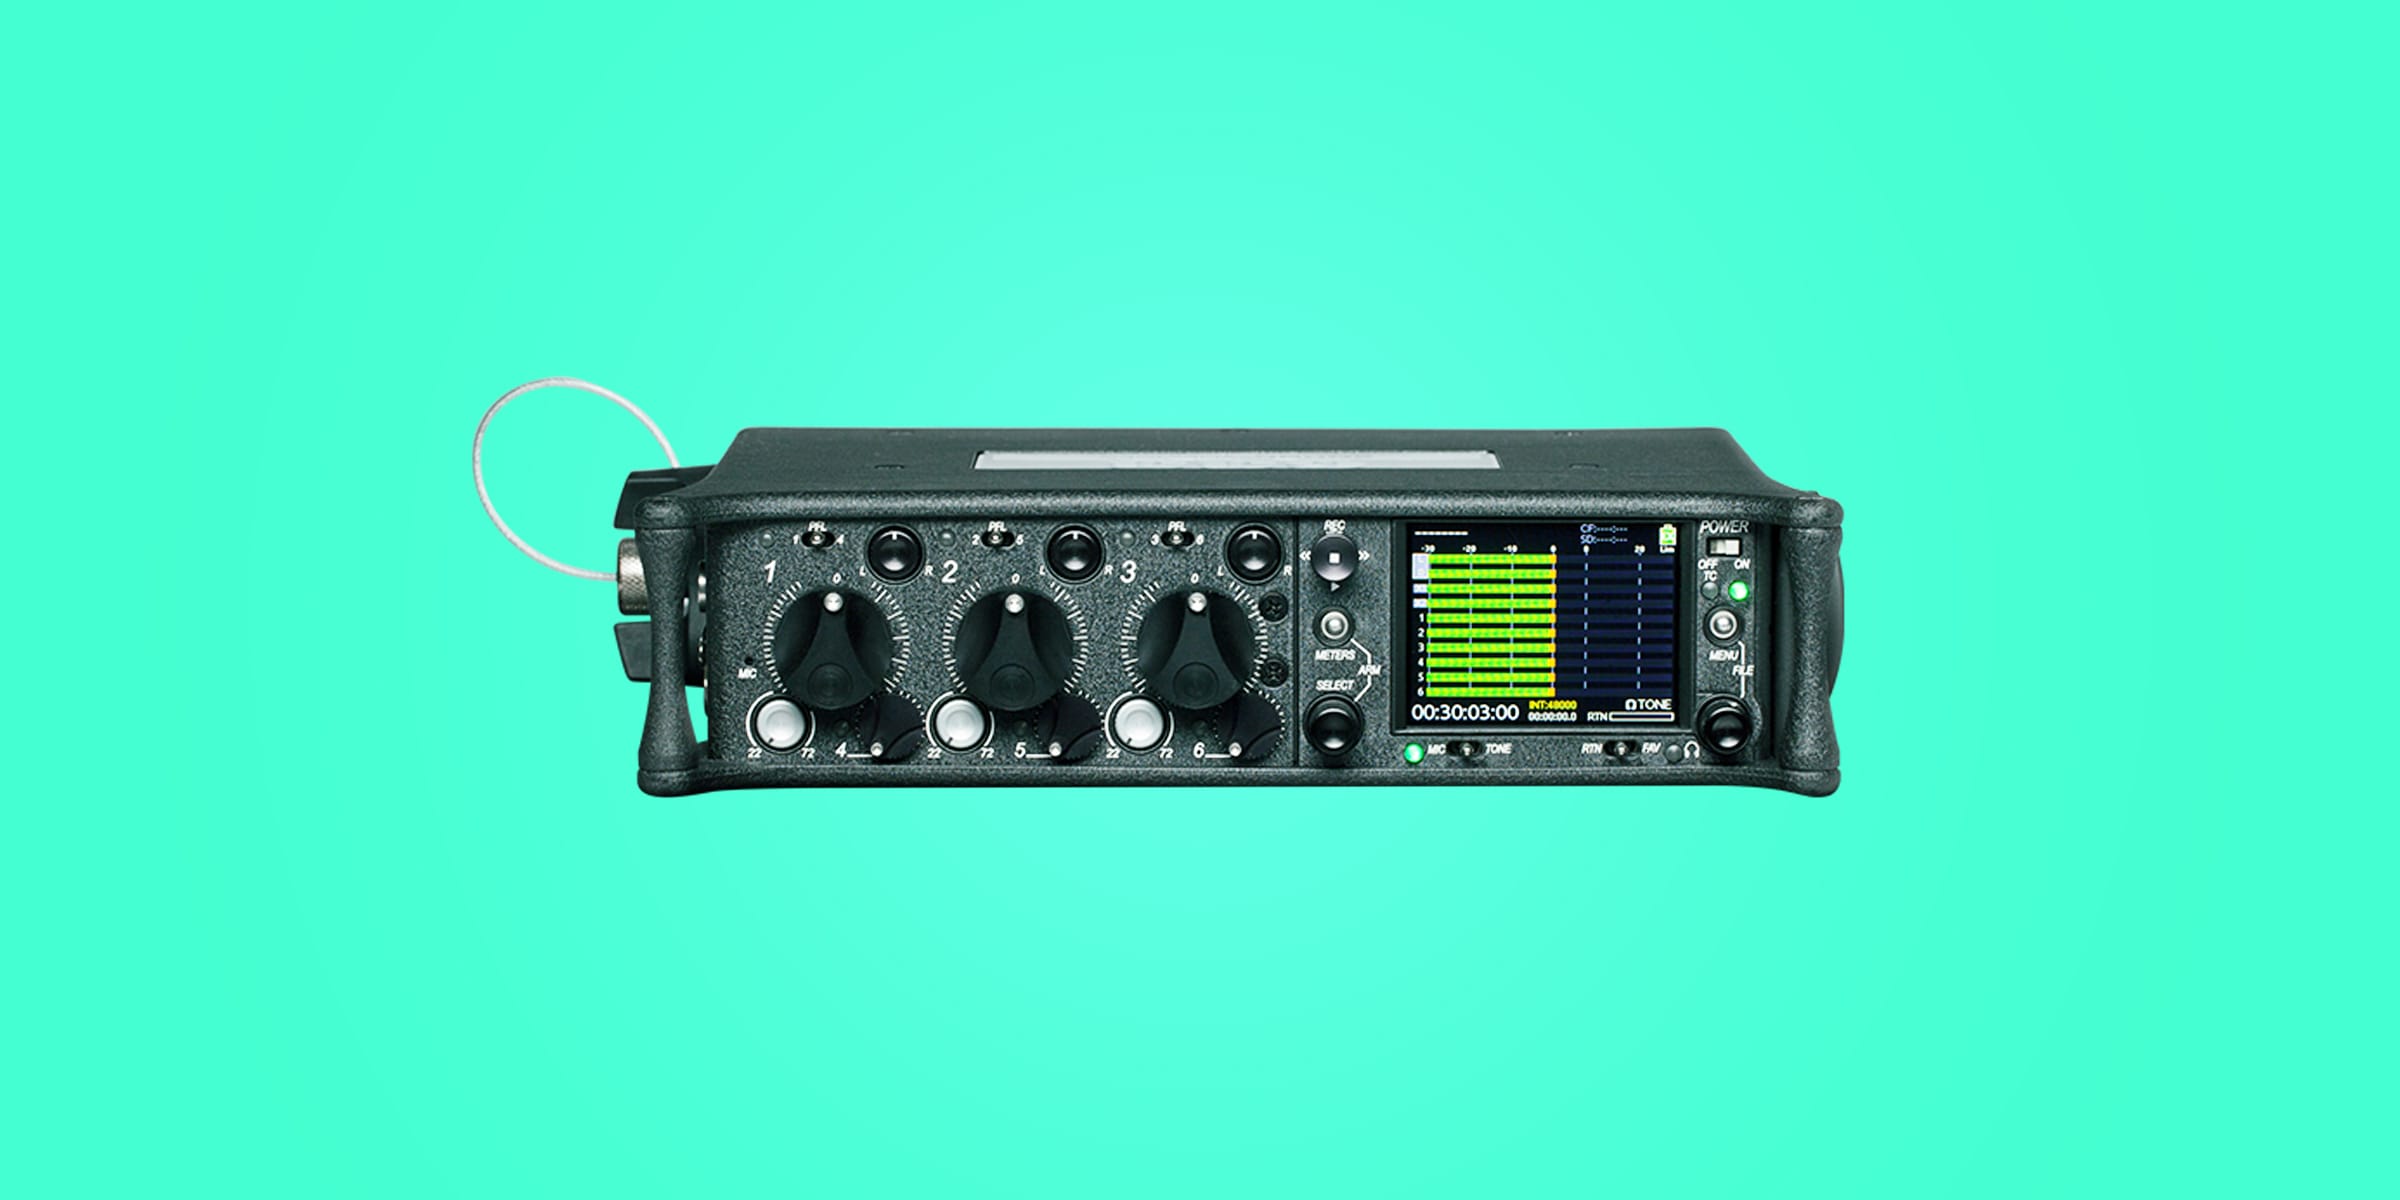
The beating heart of our sound equipment is the famous Sound Devices 633, a field mixer with an integrated 10-track recorder and 6 analogue inputs. It can be powered from multiple sources and can record to SD and CF cards simultaneously - so you're always safe. It has a built-in Ambient Lockit timecode generator, which we use in conjunction with the Ambient NanoLockits to synchronise all the cameras, meaning all our footage is very easily lined up together in our editing software. We have also used the Tentacle SYNC E MK2 on previous shoots, which can be a cheaper solution. But when it comes to reliability and build quality, we prefer Ambient's product.
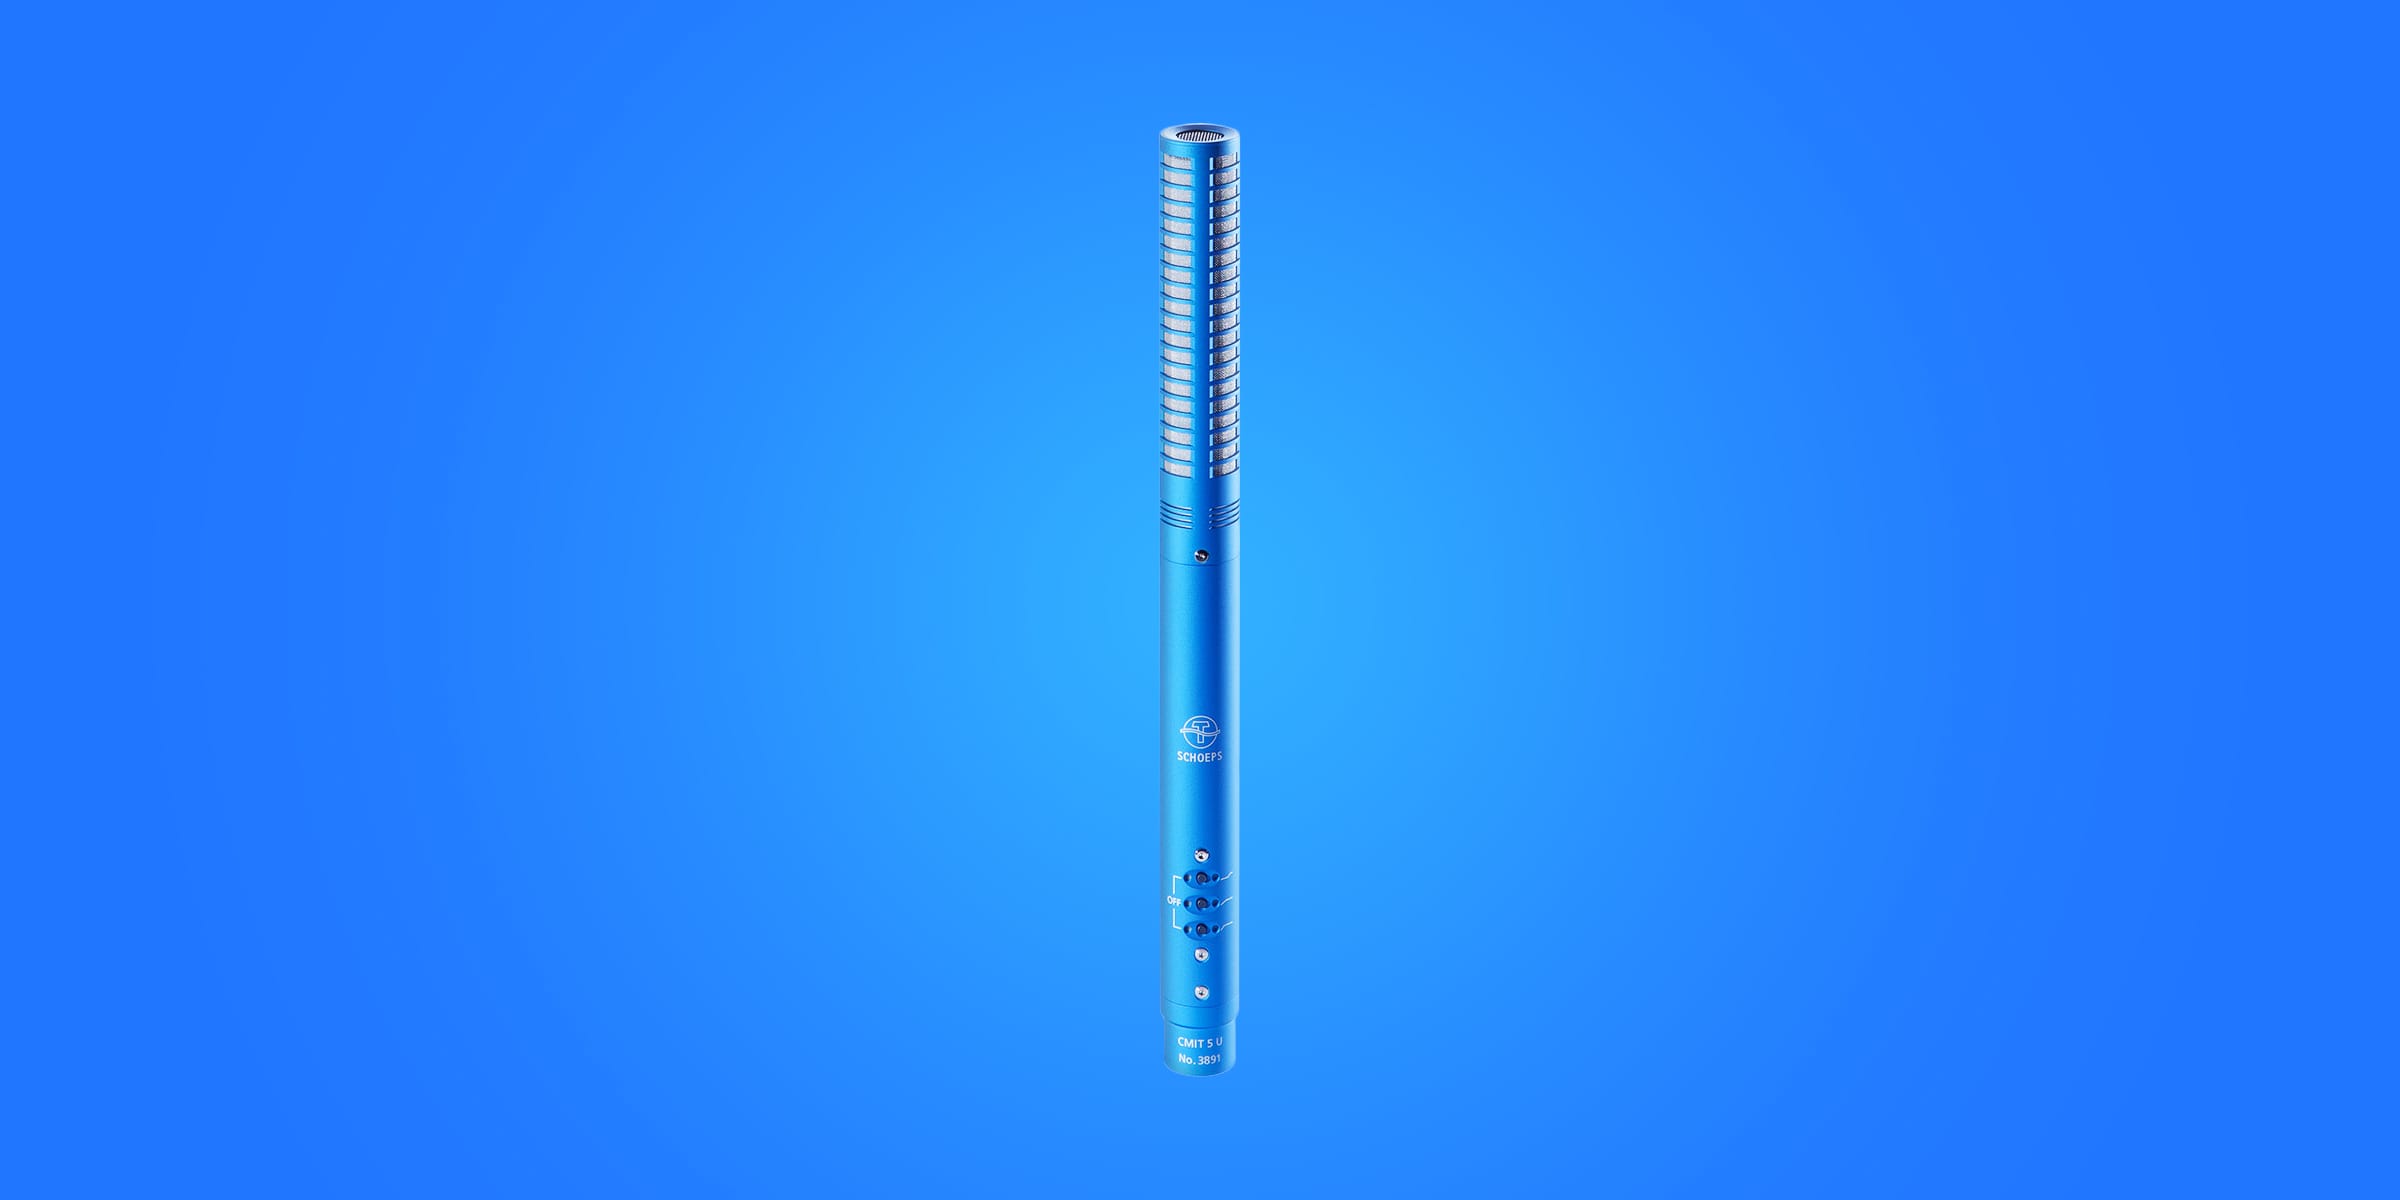
To make sure we capture every spoken word during a shoot, we use two main sources for sound recording. A boom mic and a lavalier mic (also known as a clip mic).
We fell in love with the Schoeps CMIT 5 for our boom mic. Not only does it sound great right out of the box, it looks great too. With its supercardioid pickup pattern, it is the perfect choice for capturing warm and tight-sounding dialogue without a lot of distracting background noise. In terms of frequency range, it covers everything you need between 40Hz - 20kHz. We feel a little sad when we have to hide this beauty behind a windscreen for outdoor recordings.
For our lavalier microphone we like to use the Sanken COS11. This is a super small omnidirectional microphone that is easy to hide from the audience. It covers a frequency range of 50Hz - 20kHz. To make it even easier to hide, it comes in 4 colours (black, grey, beige and white) with various accessories in matching colours. We connect them wirelessly to the sound mixer using the Sennheiser 3000/5000 Serie, which we also use to send a preliminary mix from our recorder to the A camera.
We love this setup as it gives us high quality production sound with plenty of backup in terms of storage and power, plus it's super portable and it saves us a lot of time in post. It’s a lot to consider, but it’s worth it.
So, dear reader, now you know our secrets. At least the ones we’re willing to share with you. Nobel Perspectives is a passion project of ours so when we venture out into the world to film Nobel laureates in economic sciences, we ensure the highest level of quality possible. There’s a lot more that goes into this series from lighting and focus pulling to interview preparation and editing. But those are discussions we’ll leave for another post.
Till then, we’ll leave you with this gem from the wonderful Spike Lee: “When you love something it’s not a job anymore.”
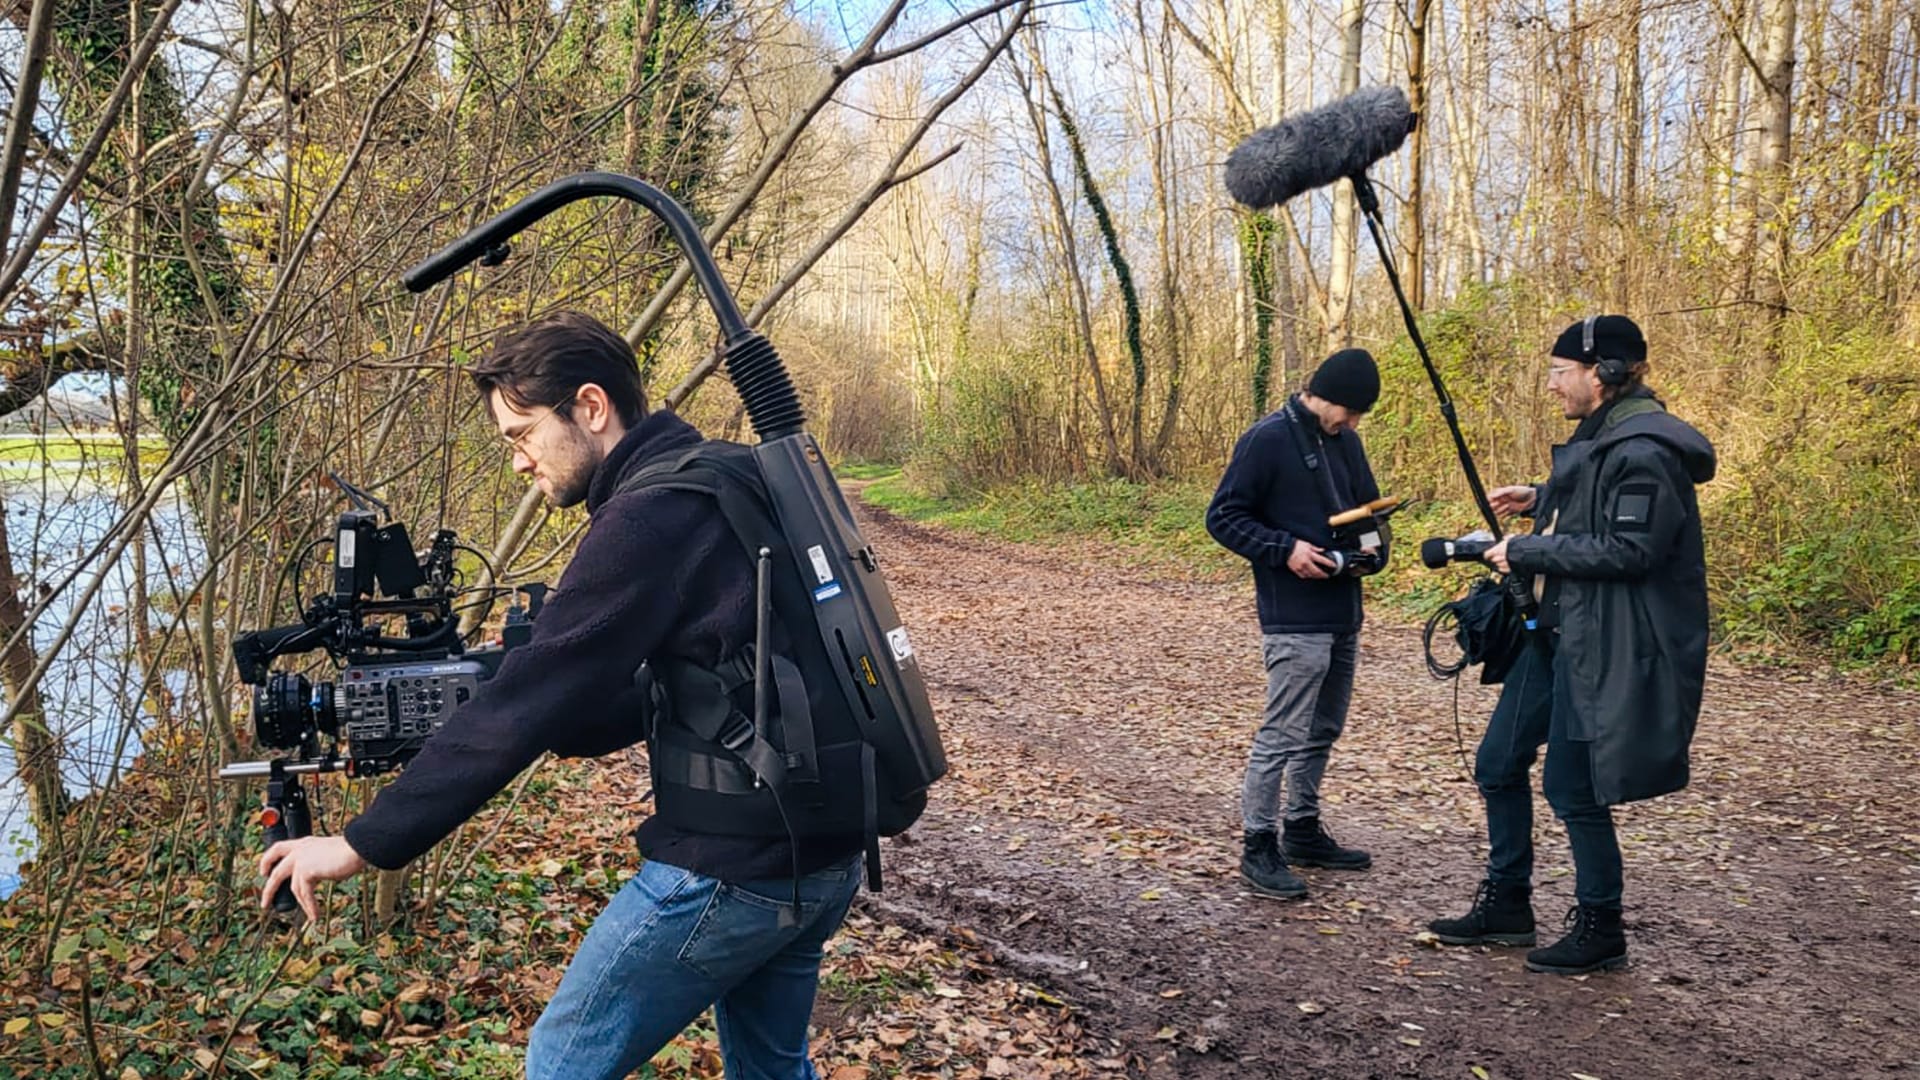
And no, this post does not contain any advertising. At least not paid ones.
Ciao and greetings on top,
from Zoo Kid On The Blog